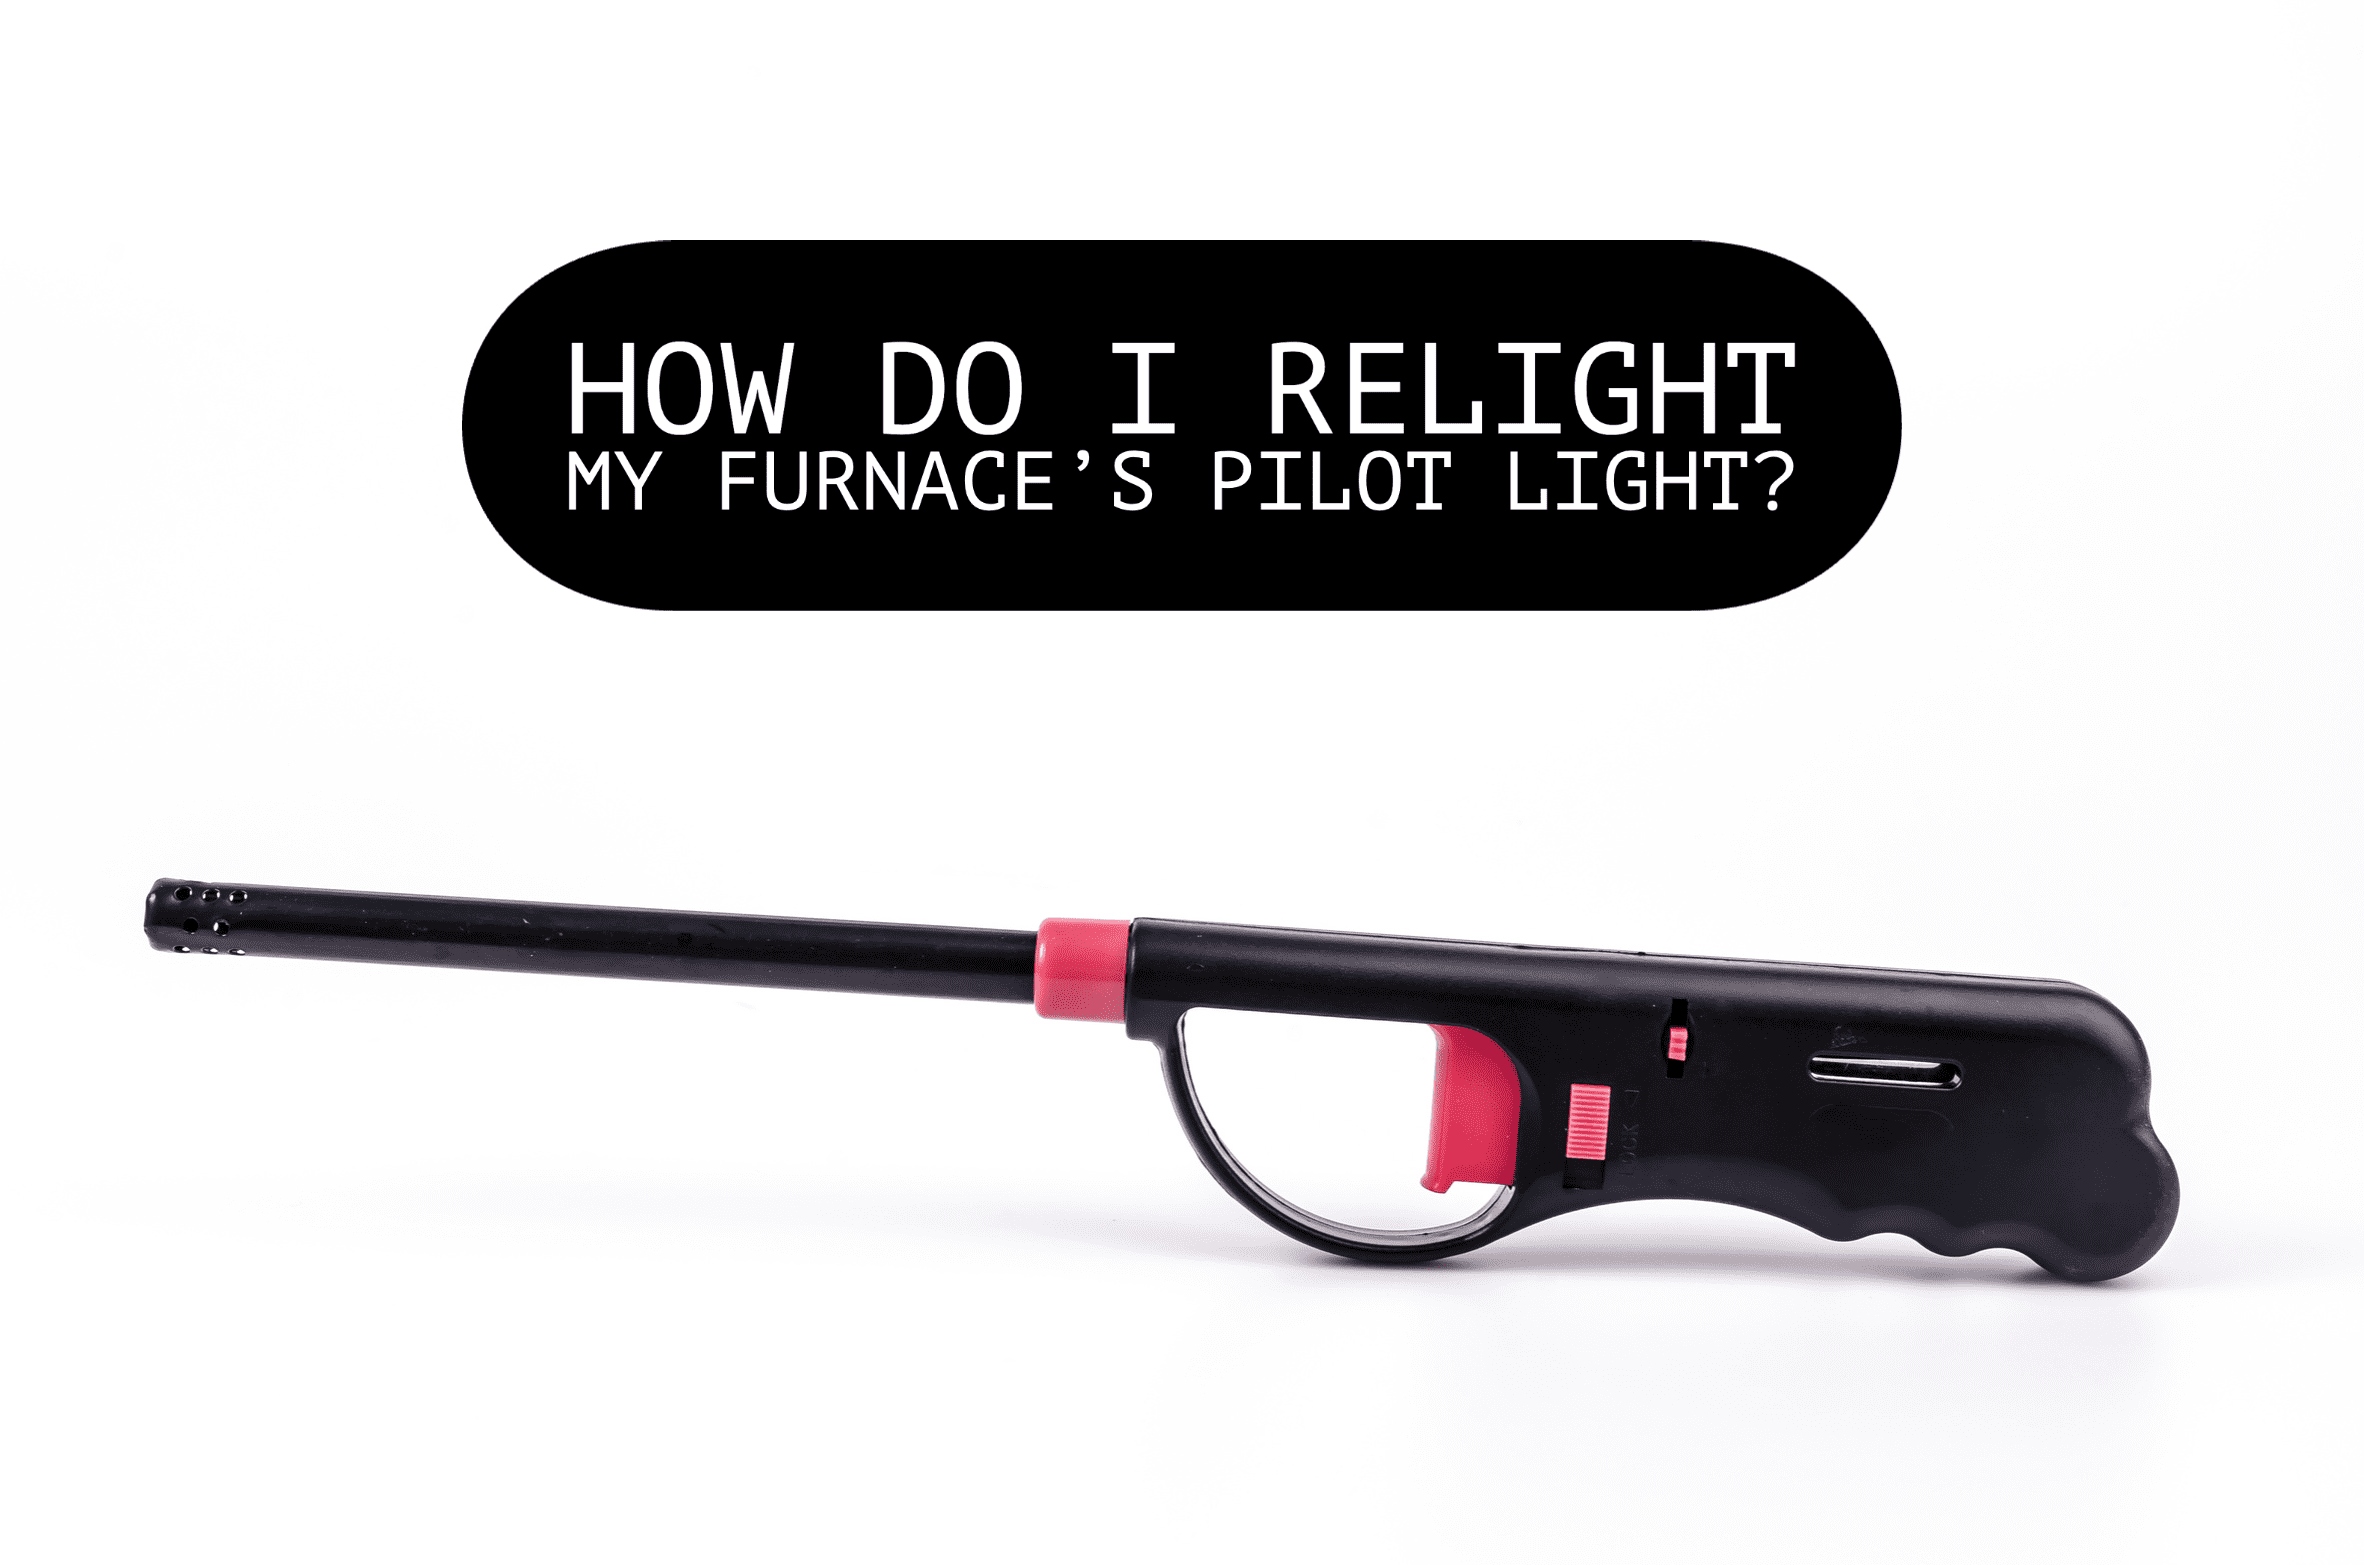
If you’re reading this, it’s more than likely that your furnace is currently blowing cooler air instead of the warm air that it should be blowing. In all likelihood, this most likely means that the pilot light has gone out and now needs to be relit. If you’ve never done this before, don’t worry; we understand that it may seem daunting! But with our help, it doesn’t have to be. Your favorite Loveland Heating & Air professionals will walk you through the step-by-step process of relighting your pilot light.
WHAT IS THE STEP-BY-STEP PROCESS FOR RELIGHTING A FURNACE PILOT LIGHT?
Step 1: The first thing you need to find is the pilot light. Usually, it’s hidden behind a metal door or panel called the burner cover. If that’s applicable for your furnace model, you will have to take off the burner cover before we can get access to the pilot light’s opening.
Step 2: Next, power your furnace off using the power switch that is normally located at the bottom of most furnaces.
Step 3: Your safety is of the utmost priority! So, before continuing on with the relighting process, make sure to turn the gas supply off using the gas supply valve that should be located close by. After you turn off the gas at its source, it’s important to wait for five minutes minimum before proceeding. This gives the previously built-up gas enough time to dissipate, which is a critical step before you reignite the pilot light.
Step 4: While waiting, you can look for the pilot light assembly. It is usually shaped like a knob and has “pilot,” “reset,” “on,” and “off” written on it. Keep in mind, the wording may not be exact but should be along those lines.
Step 5: You can also use these next five minutes to pass time by following these steps to clean your pilot light:
1. Remove any debris around the pilot light.
2. Use a small brush, toothbrush, or cotton swab to carefully clean the pilot light’s surrounding area.
3. Once you’re finished, reigniting and keeping the flame lit will be much easier.
Step 6: When five minutes have passed, you can turn the knob to “pilot.” Then press and hold the “reset” switch while you simultaneously use a long lighter or matchstick to ignite the pilot light. Just be careful to only approach slowly and with caution. Once the igniter is near enough, it should catch and spark the pilot light back on. After the flame has ignited, you may release your hold on the “reset” knob/switch. At this point, your pilot light should now remain lit.
Step 7: Use the gas valve to turn the gas supply back on once again.
Step 8: If you did have to remove a burner cover, make sure you don’t forget to return it back to its original position.
Well, done! You’ve relit your furnace’s pilot light! However, if it goes back out upon releasing the “reset” switch, you may be dealing with a damaged component, such as the thermocouple. In this case, you will want to give a licensed professional like Loveland Heating & Air a call. Getting your system accurately assessed and diagnosed is important to get a system-related issue resolved efficiently!
You can reach Loveland Heating & Air at (513) 216-5913 or schedule an appointment online now by clicking here!


